3D Crafts
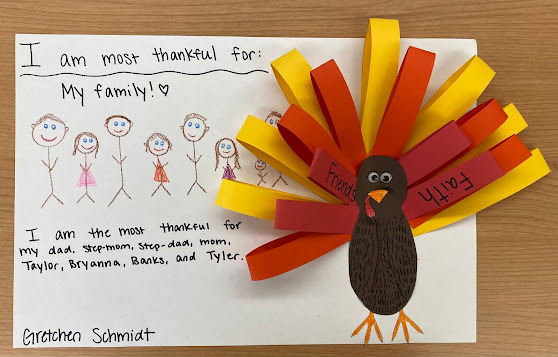
For this lesson, we talked about everything that we are thankful for. On a large piece of construction paper, we wrote one thing that we are the most thankful for on half of the sheet. We then illustrated a picture of what we are most thankful for. Underneath the picture, we wrote a sentence about what we are the most thankful for. Once we completed this part of the project, we began creating the turkey. We traced the turkey's body on the other half of the construction paper and then began tracing the stencil provided to make the feathers. There were three different colors (red, yellow, and orange) and each color was a different length. We bended each slip of colored paper in half and glued it onto the outline of the turkey's body. We repeated this step until we got through all of the colors and our turkey outline was full of feathers. On the red-colored construction paper, we added two more things that we are thankful for and wrote them on the feathers. After we finished gluing on all of the feathers, we traced the stencil of the turkey on a brown piece of construction paper and glued it onto the outline. Afterwards, we glued on a set of googly eyes, we colored, cut, and glued on an outline of a beak, snood, and 2 feet. This was a super fun project, especially so close to Thanksgiving!
An extension activity that I would do for this project would be to read the book 10 Fat Turkeys by Tony Johnston. This is a very fun book that children would enjoy and it relates perfectly with the theme of this art project!


Comments
Post a Comment